The following project documentation was written on July 24th, and posted on August 6th.
With COVID-19 affecting many patients across Canada, the need for specialized, non-contact variants of equipment is starting to arise. These types of equipment have one goal in mind; they serve to minimize contact between patients and physicians to reduce the spread of the virus. Some of these types of equipment can also be taken home and used by the patient themselves, so that long distance appointments with their physicians can take place.
Obviously, we can’t just substitute all medical instruments with cheaper ones you can just take home and use yourself, but there are some instruments that are simple enough to be 3D printed and used by the patient. One such instrument is the stethoscope.
3D printed medical devices and Glia
Two years ago, in 2018, physician and humanitarian Dr. Tarek Loubani and his team designed a 3D printed, research validated stethoscope. According to him, it costs around $2-$5 to make, and the 3D printing files are freely available to the public. Right now, Dr. Loubani and his team run a project known as Glia, which specializes in making open-sourced, 3D printed medical equipment. You can check them out here. They've even got 3D printed face shields for the COVID-19 pandemic.
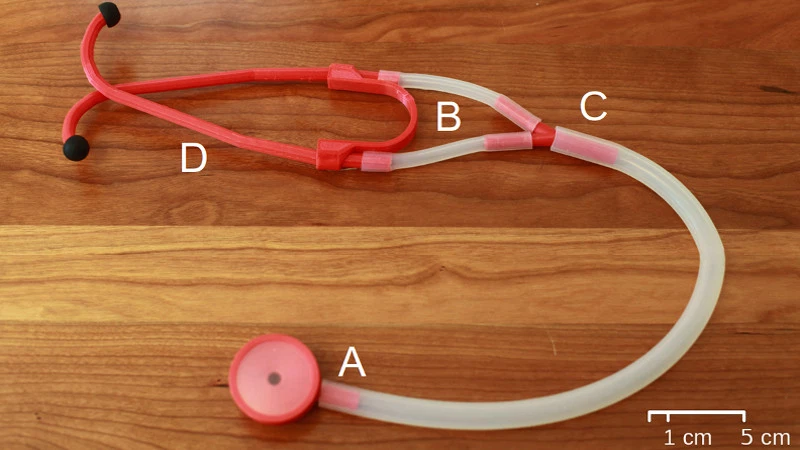 A 3D printed stethoscope. Photo by Tom Nardi (member of Glia) from Hackaday.
It is important to note that not all of the hardware for the stethoscope will come out of your 3D printer; while most of the stethoscope can be printed from ABS, the diaphragm is made from a cut out Staples report binder, while the tubes are made of silicone hose pipes. Both of these must be bought separately (you might be able to make both of these parts from printed TPU, but I don’t think it’s worth it).
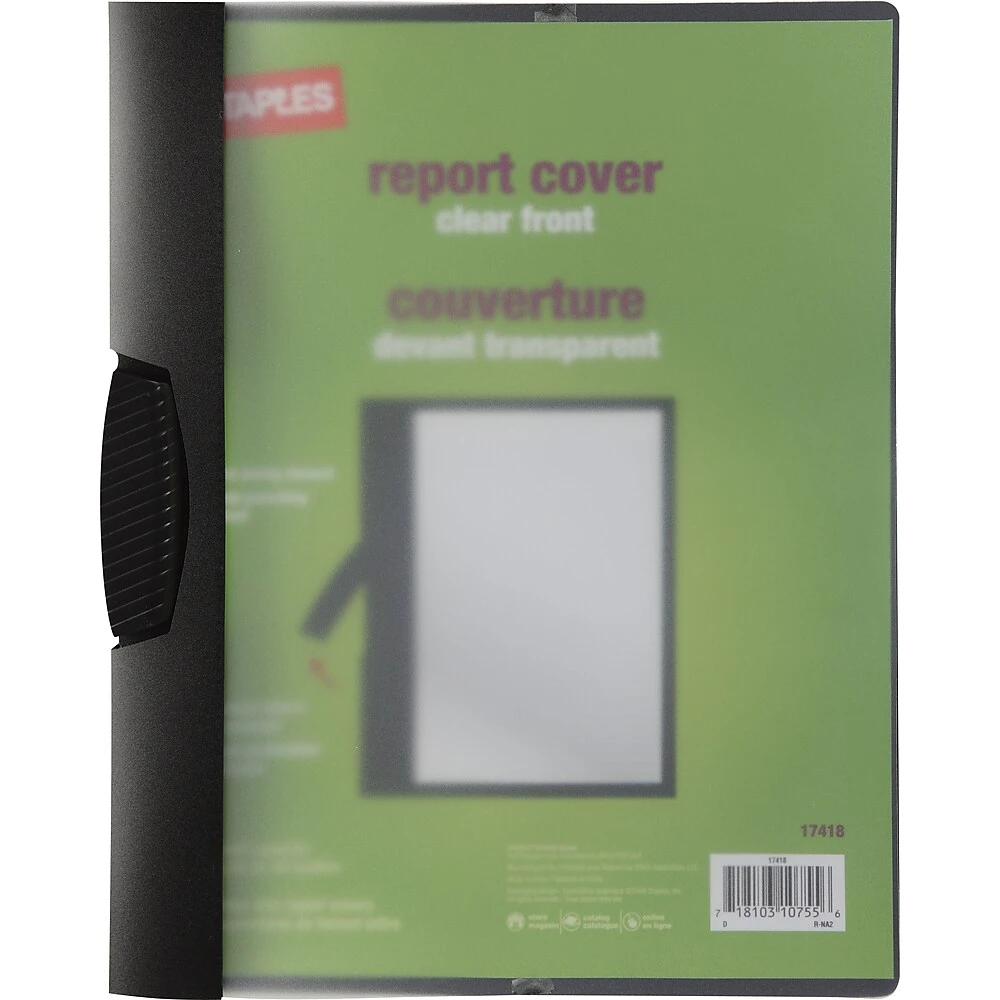 Staples report cover.
 Silicone hose pipes.
My own ideas
Where am I going with this? Well, I want to modify Dr. Loubani’s design and make a 3.5mm adapter that allows the stethoscope’s bell to plug into the headphone jack of a smartphone or a computer, which will allow it to become a microphone. This way, patients can use the stethoscope at home, either record their own auscultation patterns or play them to the physician in real time over a phone call.
Alright, time to print the design made by Glia. You can download all the print files on their GitHub repository. The instructions are below. The PrusaSlicer software is recommended to import the 3MF file, but any slicer software can work, such as Cura. That being said, there might be some differences in the print settings between the two. Regardless of what you decide to do, make sure to use 100% infill; if the pieces are hollow, then the sound will not resonate properly. The instructions also say to print using ABS instead of PLA, since PLA has a shorter lifetime, but I used PLA since I didn’t have any ABS.
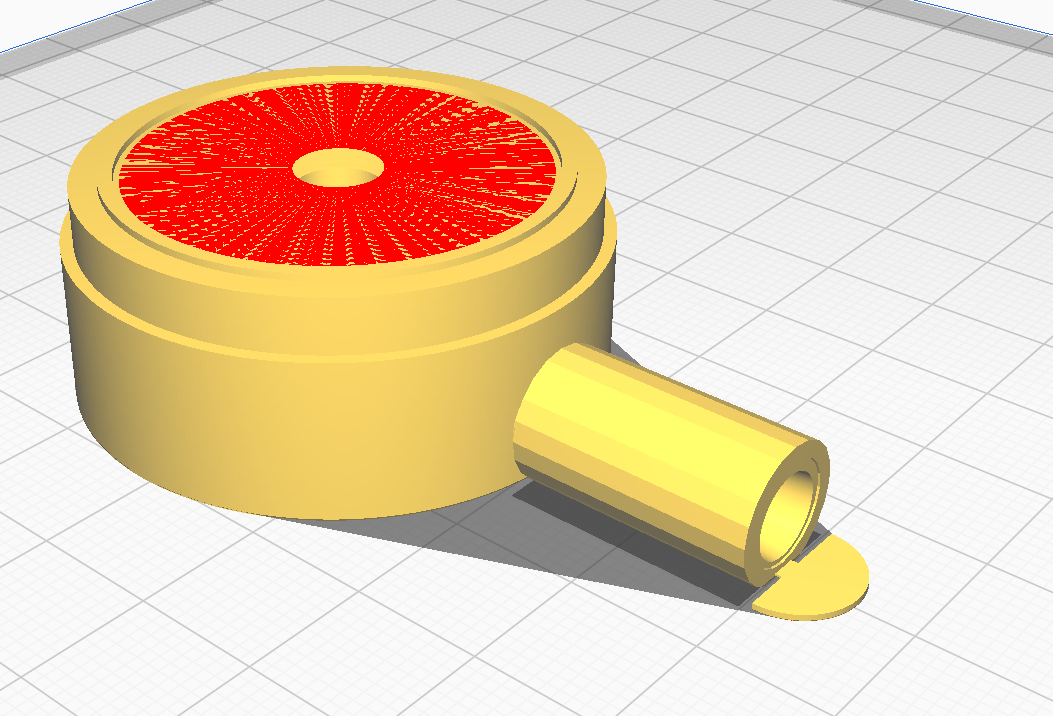 The head of the stethoscope in Cura. The red lines at the top are Cura's way of warning that there's a slight error in the model. This is the same for the .3MF and .stl file. Not to worry though; it doesn't affect the print.
I pretty much only want the head (and diaphragm ring) of the stethoscope, so I deleted all the other parts from the 3MF file. According to Cura, these parts alone will take around 30 grams of PLA to print from my Anycubic Mega-S printer.
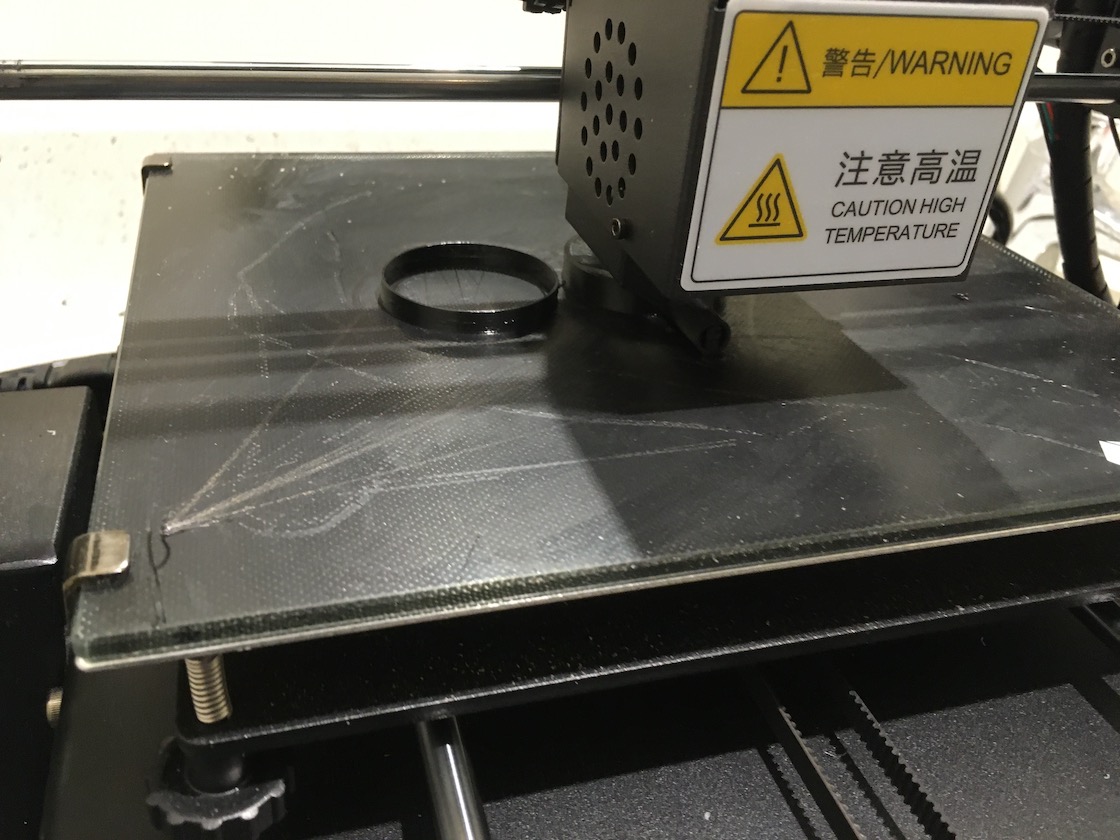 3D printing the head. This was a reprint in black.
If you may recall, a circular cutout of a report cover is to be used as the diaphragm of the bell. I didn’t have one so I used a circular cutout from a sheet of stiff acetate instead.
 The ring and diaphragm.
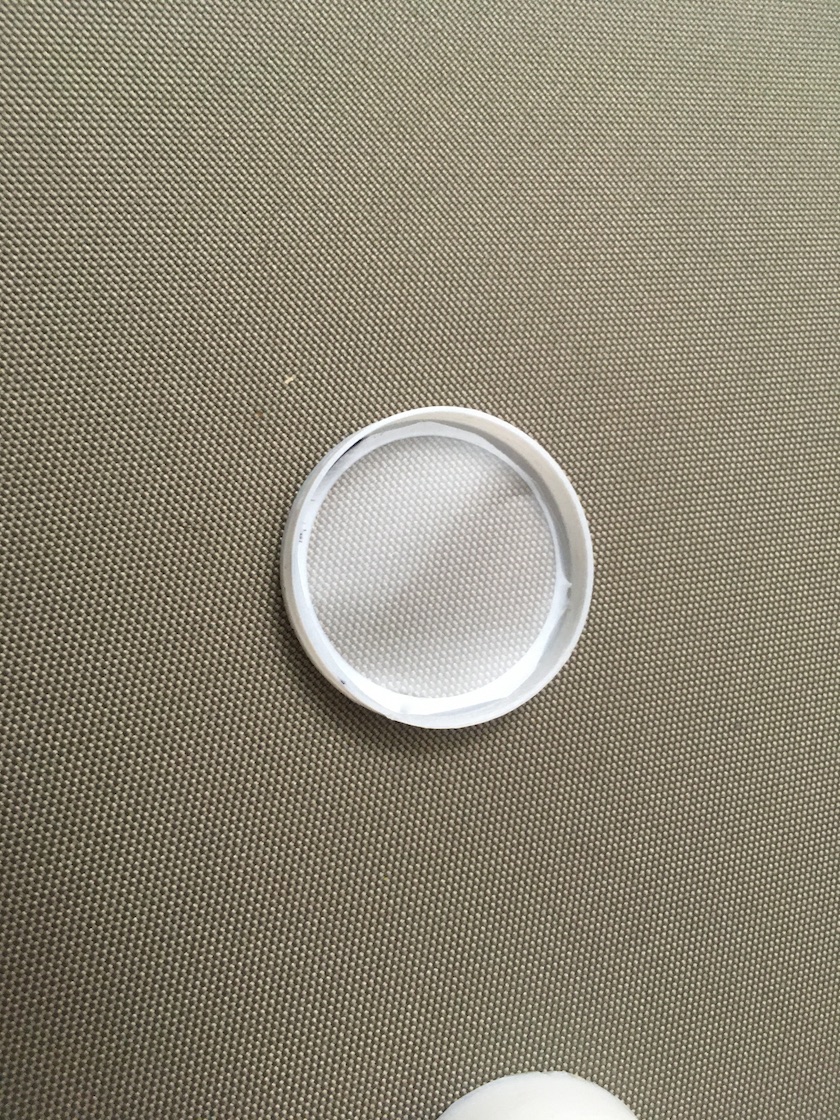
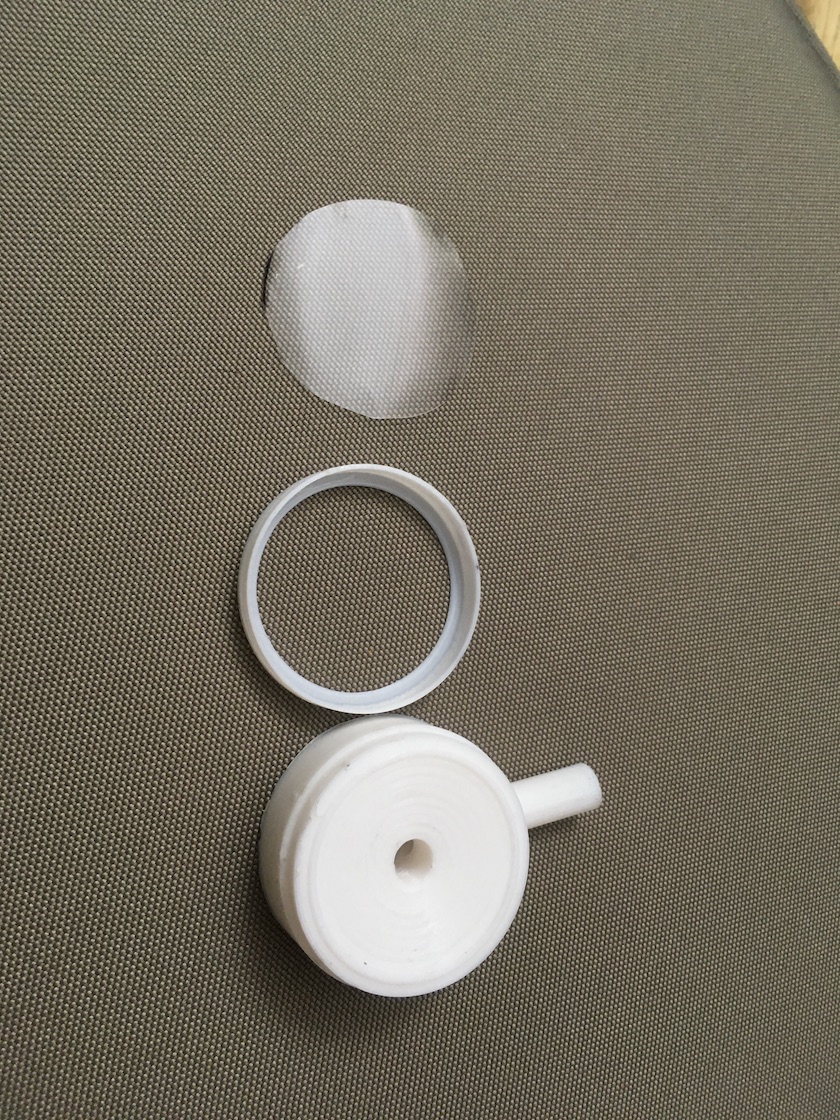 From top to bottom: diaphragm, ring, and head.
After assembling the head, ring, and diaphragm together, I was able to put the head directly into a real stethoscope. It actually works very well. However, I’m wondering if using a report cover as the diaphragm would be better than the acetate, since it more resembles the rigidity of fibreglass used in actual diaphragm stethoscopes.
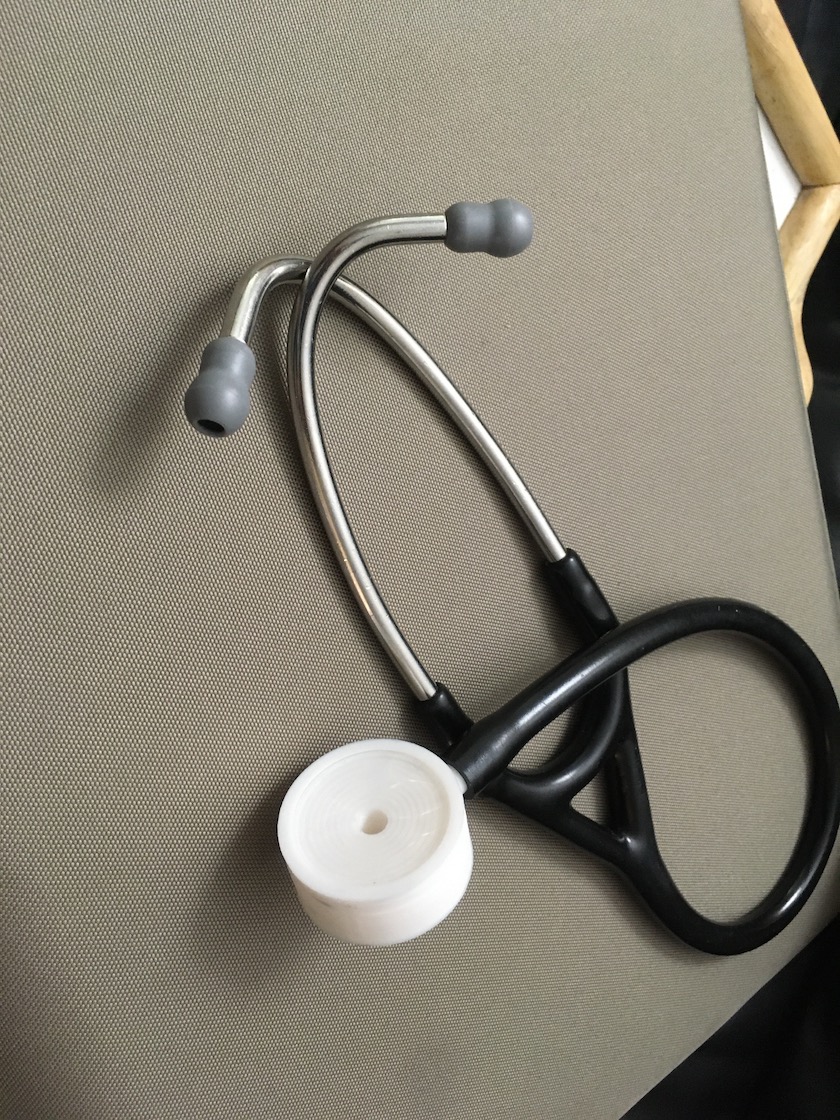 The 3D printed head in an actual stethoscope.
I then wanted to see how well the sound is received by a microphone. I designed and printed this T-shaped piece that fits an Apple headphones’ microphone (found in the remote), which fits in the bell.
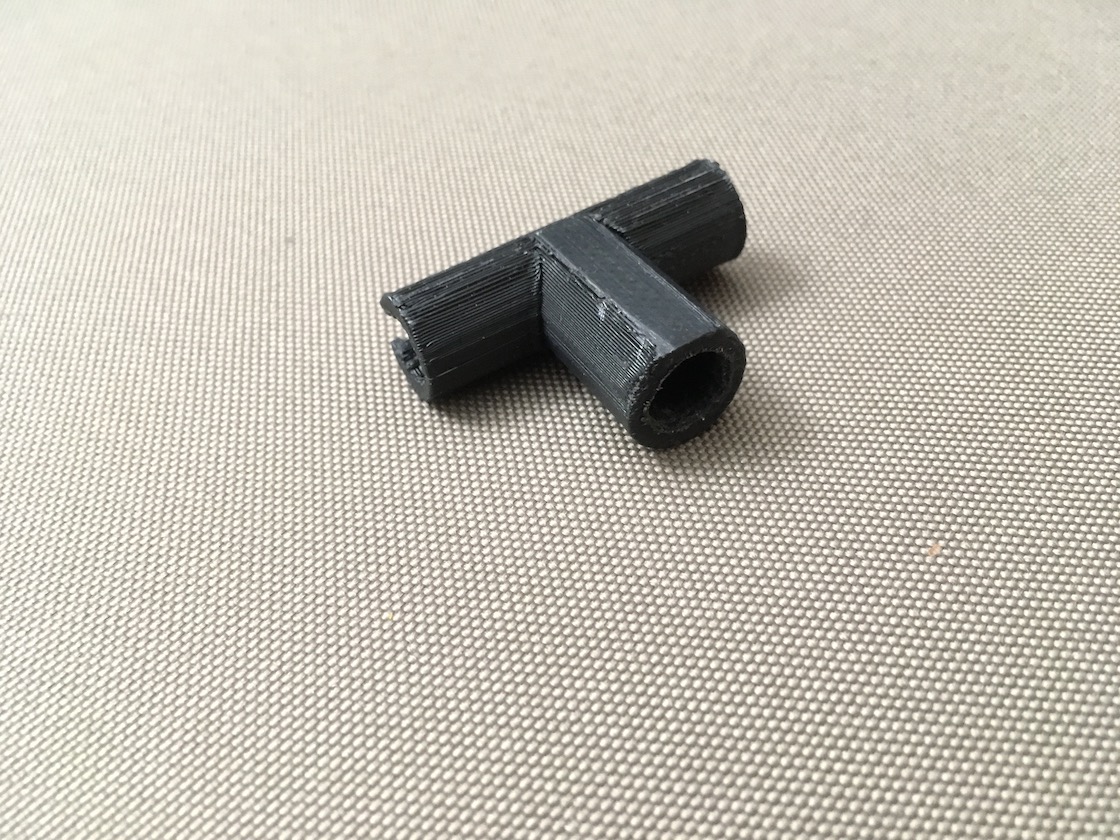 Front of T-joint.
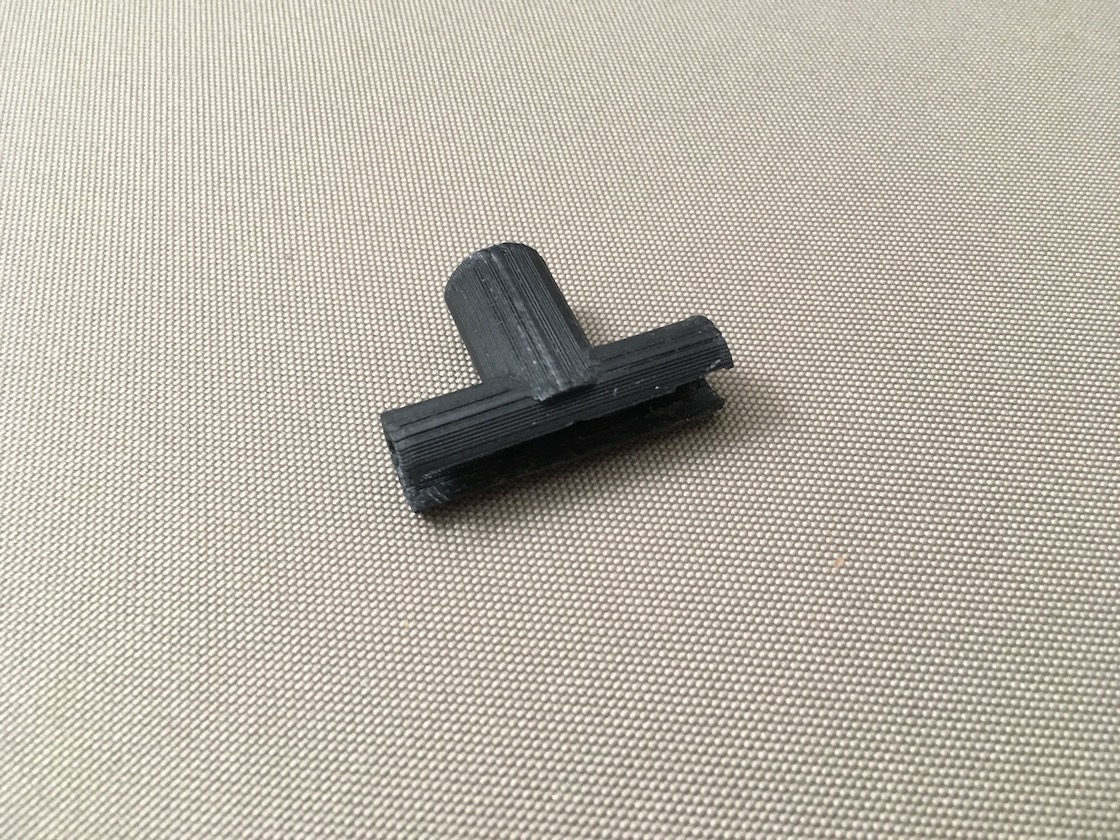 Back of T-joint. This is the channel where the mic goes.
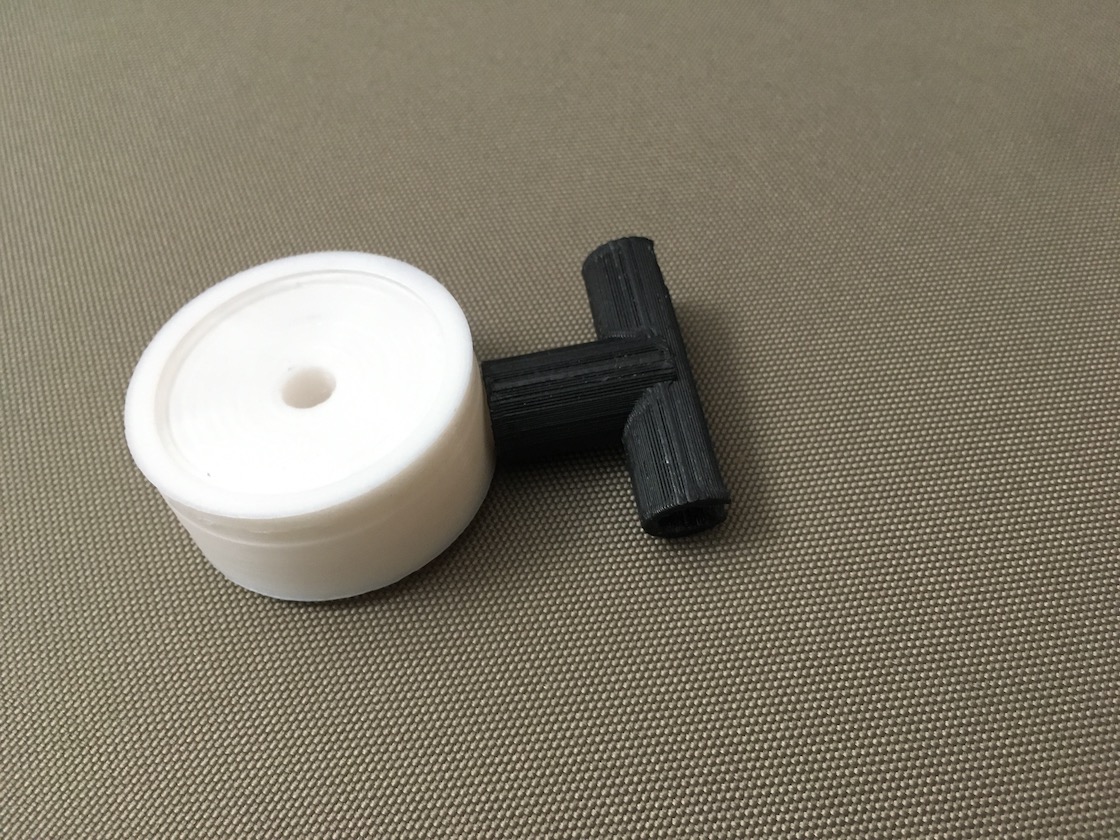 T-joint attached.
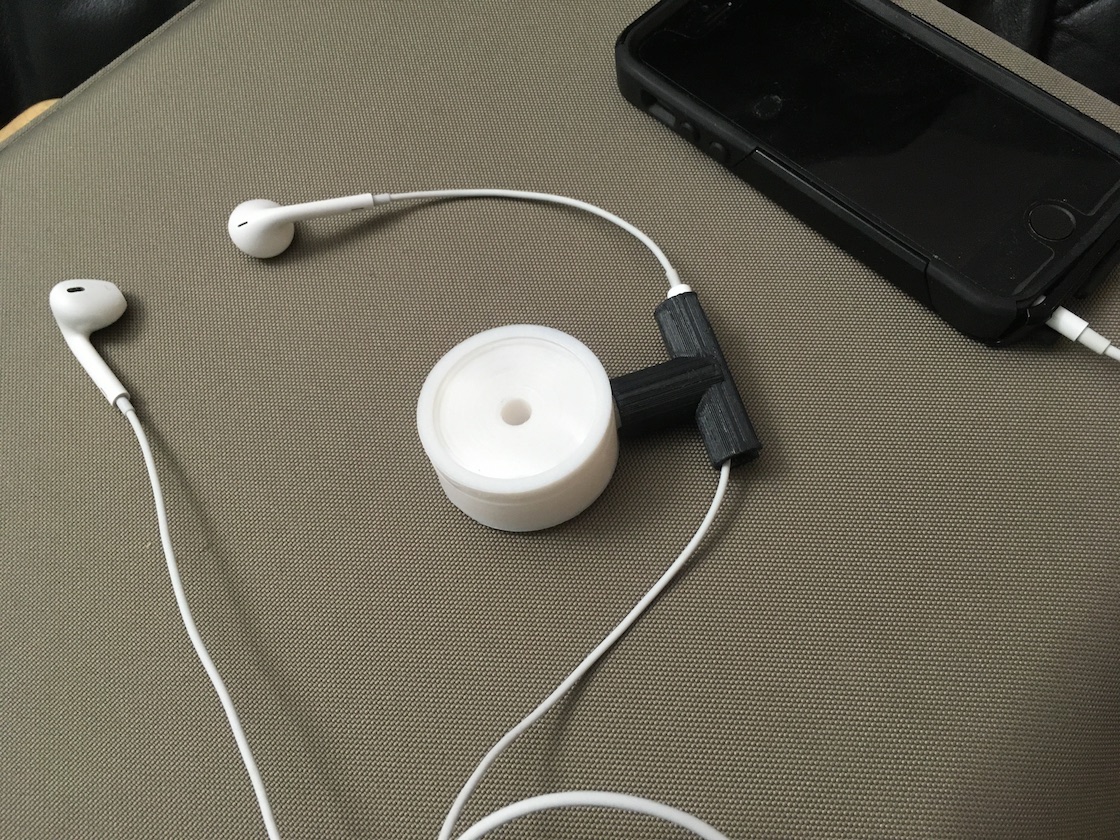
It’s not exactly easy to keep it in place, especially as you put the bell to someone’s body, but again, this is just a temporary thing.
 The T Joint with an iPhone headphone mic inside it.
It kind of works. It would be better if I used the silicone tubes that the instructions recommend instead, since the sound will probably resonate through them better than the rigid T-joint. My next step in this project is to get some silicone tubes and a standalone microphone to connect to the bell. But so far this looks promising. Glia is a wonderful project and I think we need it now more than ever.