Check out the previous progress post.
The following project documentation was written on August 6th, and posted on August 8th.
I found a USB microphone which will be perfect for my digital stethoscope.
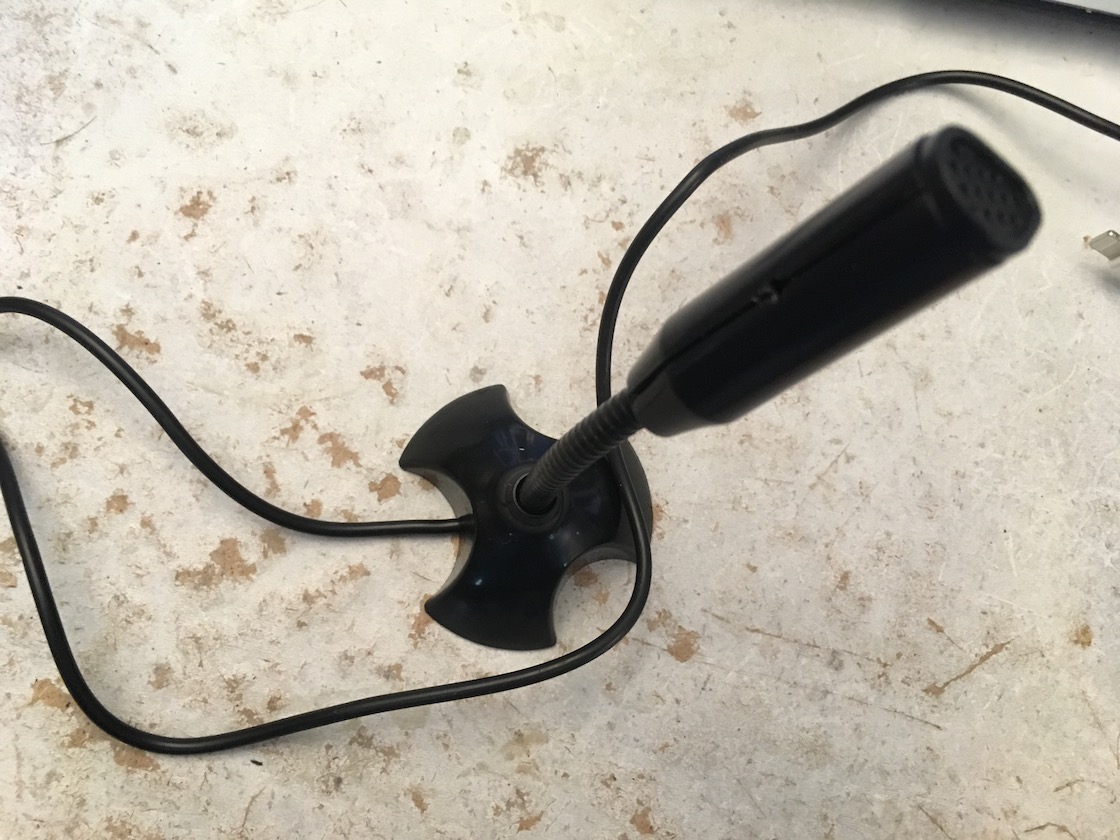 USB desk microphone.
I took it apart. The foam padding at the back was removed with a hairdryer which melted its adhesive. Removing the padding revealed a triangular-ish metal plate held in by 3 screws.
Removing the plate revealed the mic’s internals.
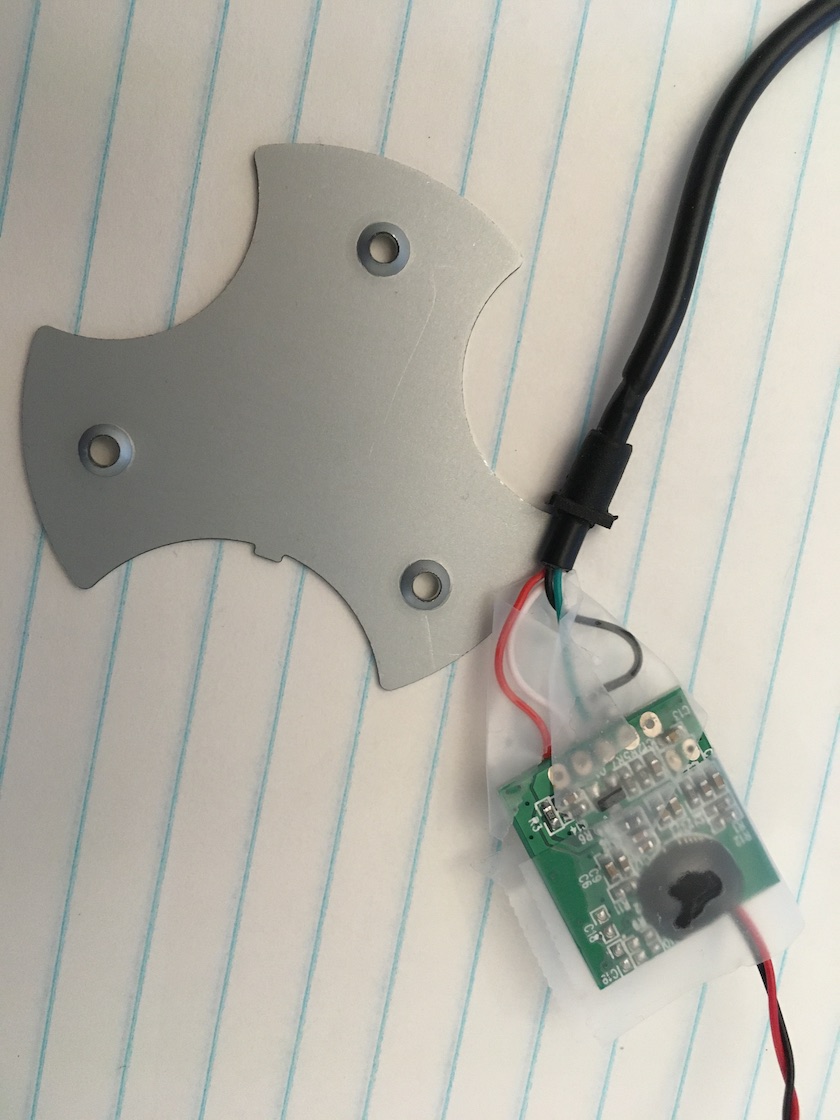 I taped the wires on because the connections weren't that great. The wires could rip off if you're not careful.
Like the broken headset before it, this USB mic also uses an electret condenser mic. Except this time, there’s an amplifier so the sound quality should be much better.
 Amplifier.
The actual mic is housed inside this plastic shell, which could just be split apart using a knife.
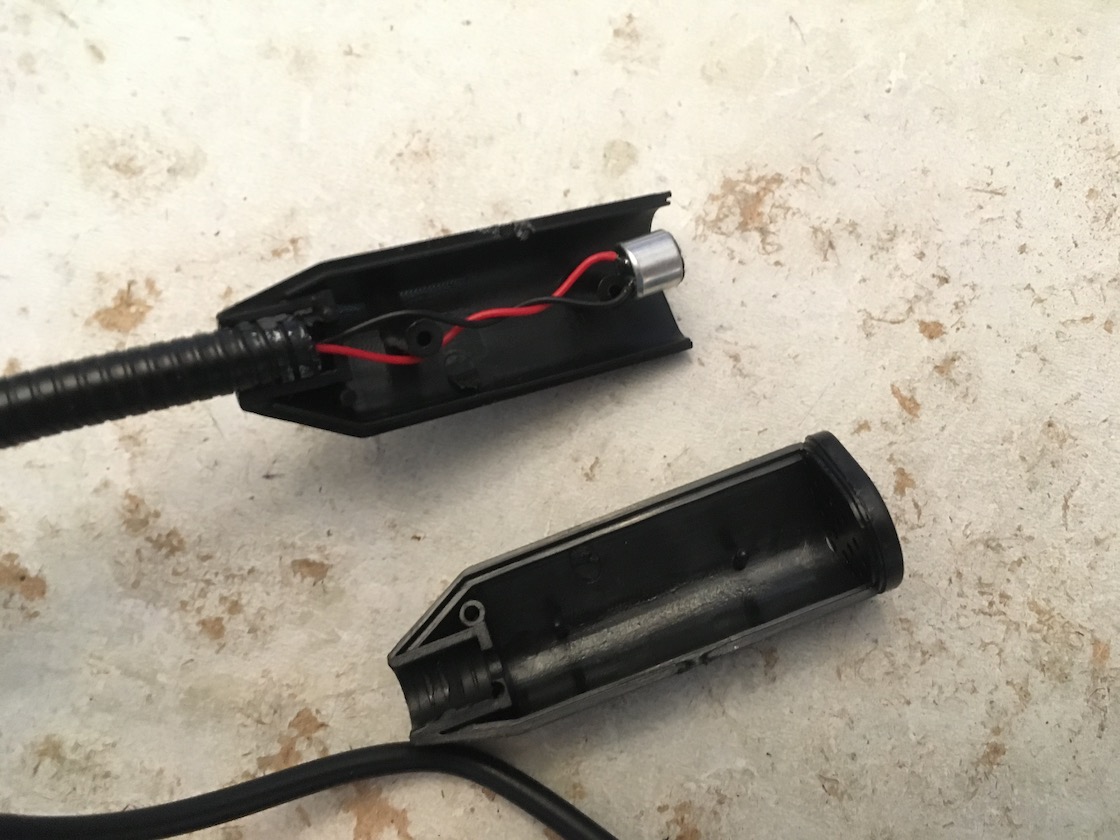 Mic and plastic housing.
The mic is held on by two wires, which, like the headset, are also unprotected. I’m gonna expect a lot of interference.
I desoldered the wires from the amplifier so I could actually remove the mic from the metal housing that the mic’s wires runs through. Then I soldered it back to the board.
 The mic and the amplifier.
I also twisted the wires so that there would be less interference during recording, but this is trivial.
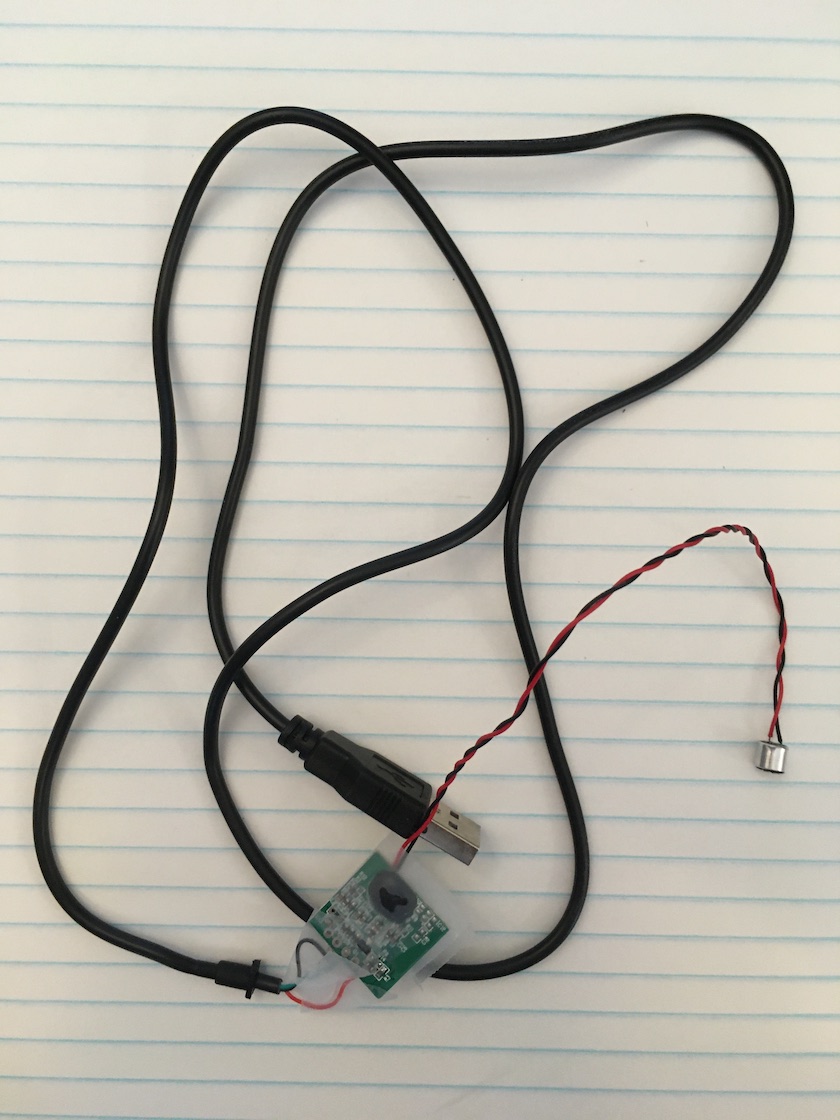 The entire mic, board, and USB without the housing.
I designed and printed my own 3D printed shell that goes around the mic. It’s basically a cylinder that goes around the mic and can fit in the silicone tube. Maybe you can see where this is going.
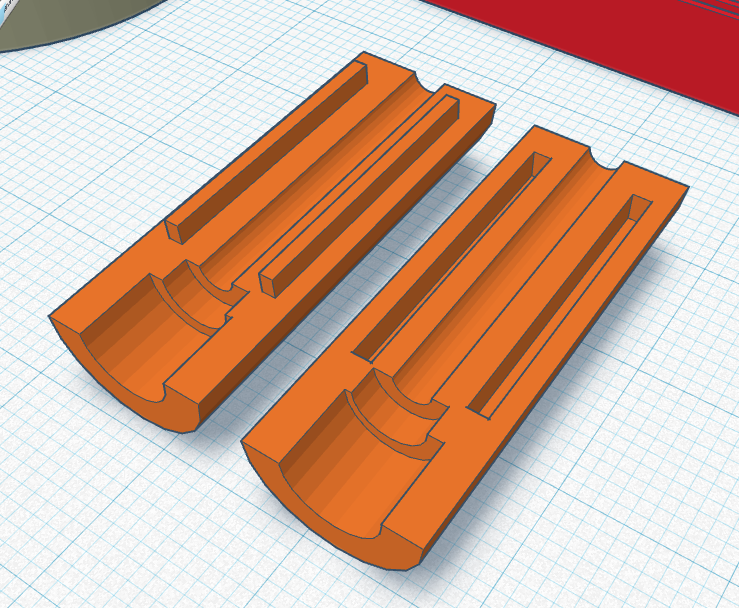 Mic shell in TinkerCAD.
I also designed a box that the amplifier can go into, but I ended up not using it because it didn’t fit. Maybe I’ll make a bigger one next time.
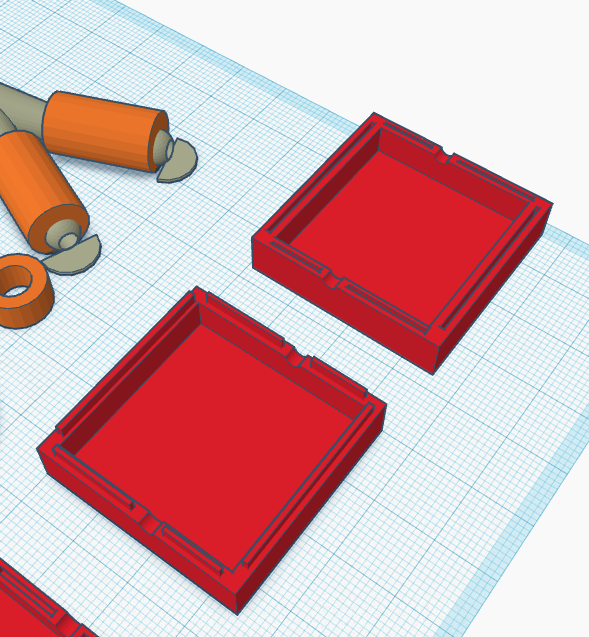 Box in TinkerCAD.
The shell was printed with 100% infill, just so that the sound can resonate better.
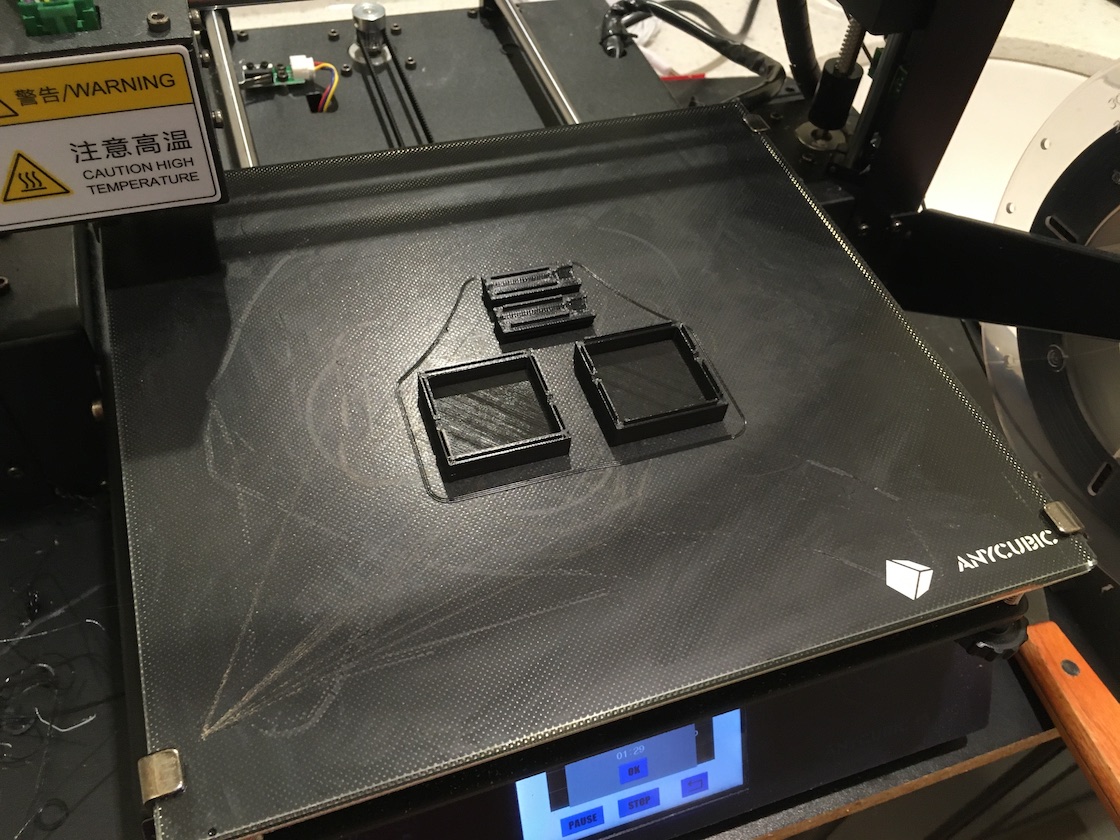 Both components fresh off the printing bed.
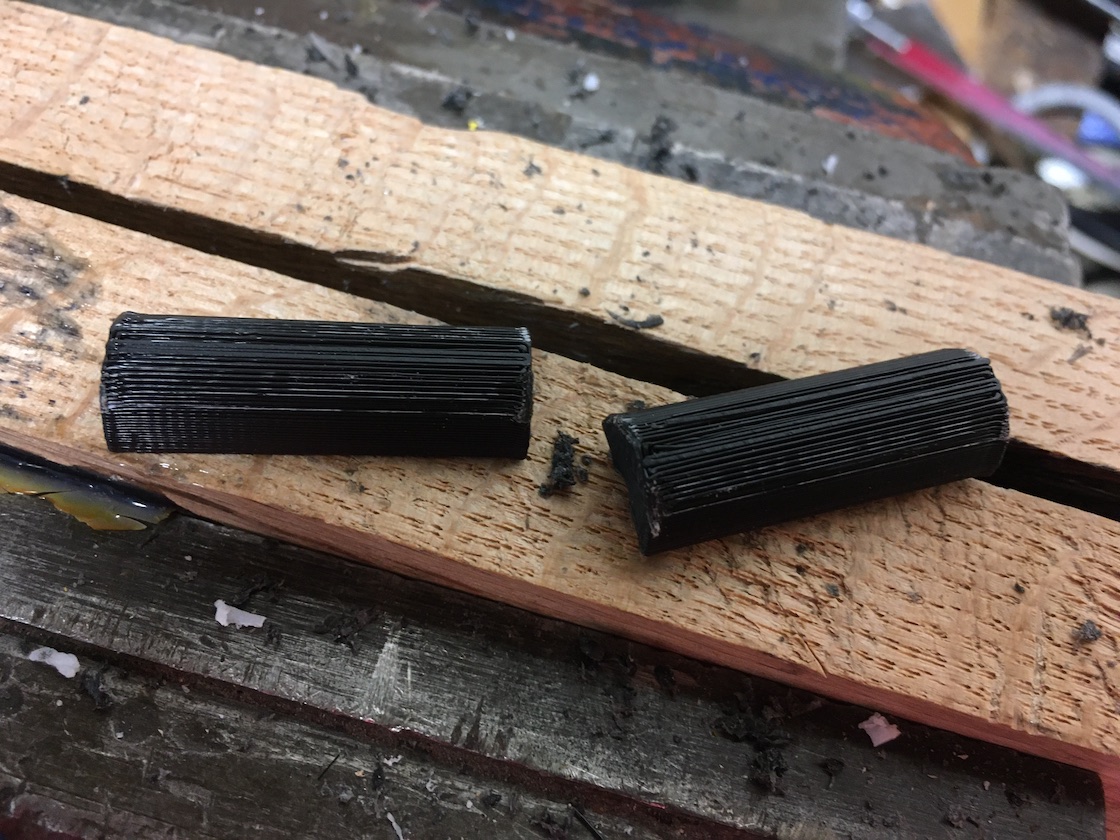
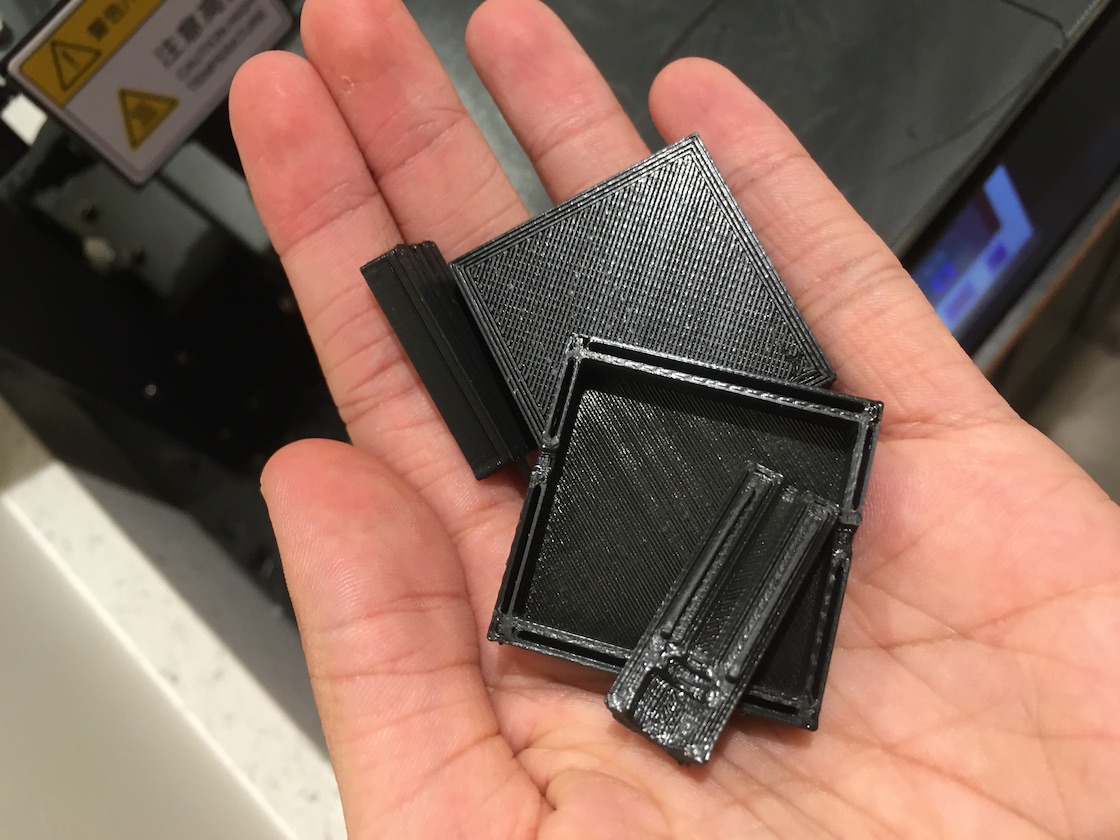 Both components off of the bed.
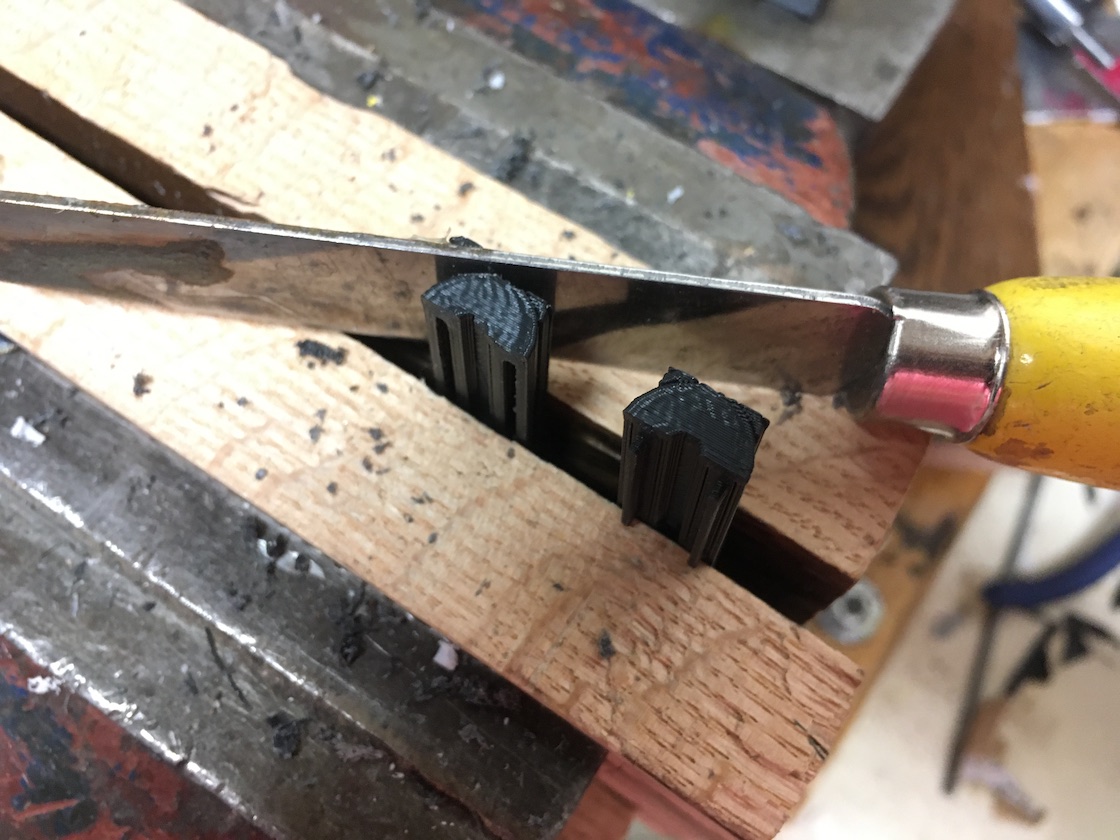 Removing supports from cylinderical shell.
 Supports removed.
The mic fits snuggly inside the shell halves, and the shells fit together; not permanently, mind you. I want to be able to take the mic out of the shell. So they come apart quite easily, but not to the point that it just falls apart.
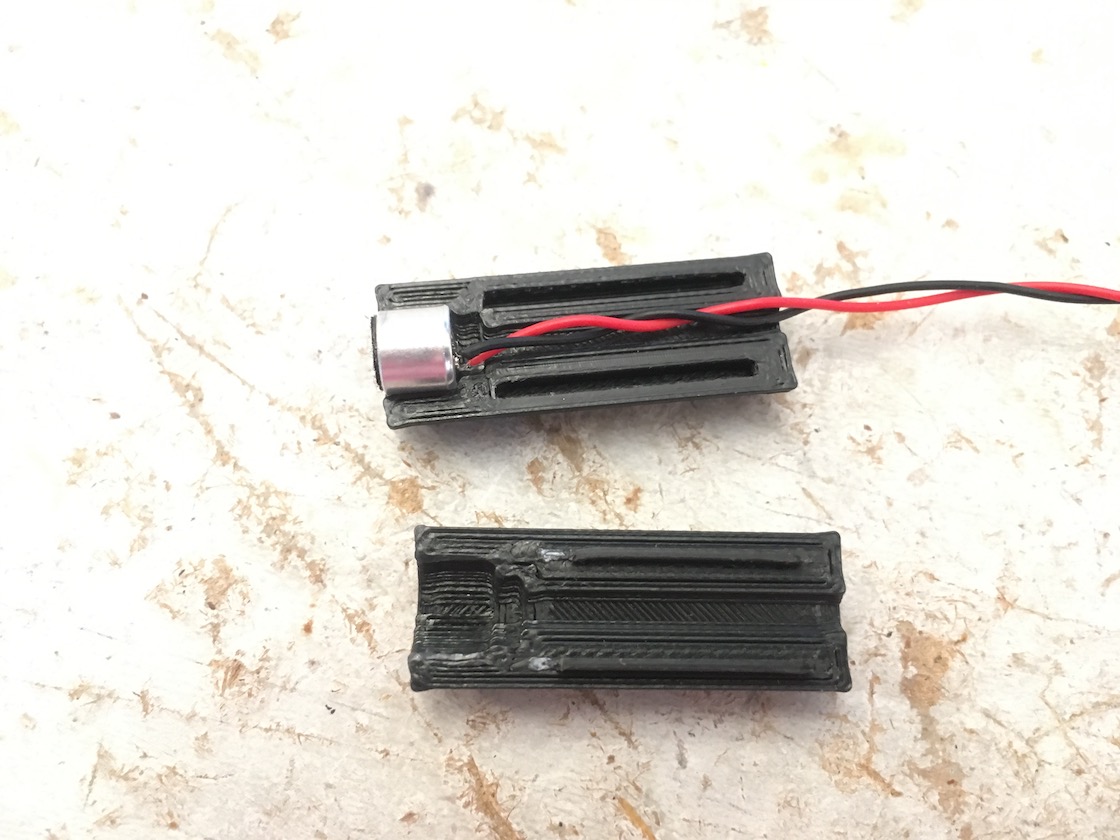 Mic in shell. Notice 100% infill.
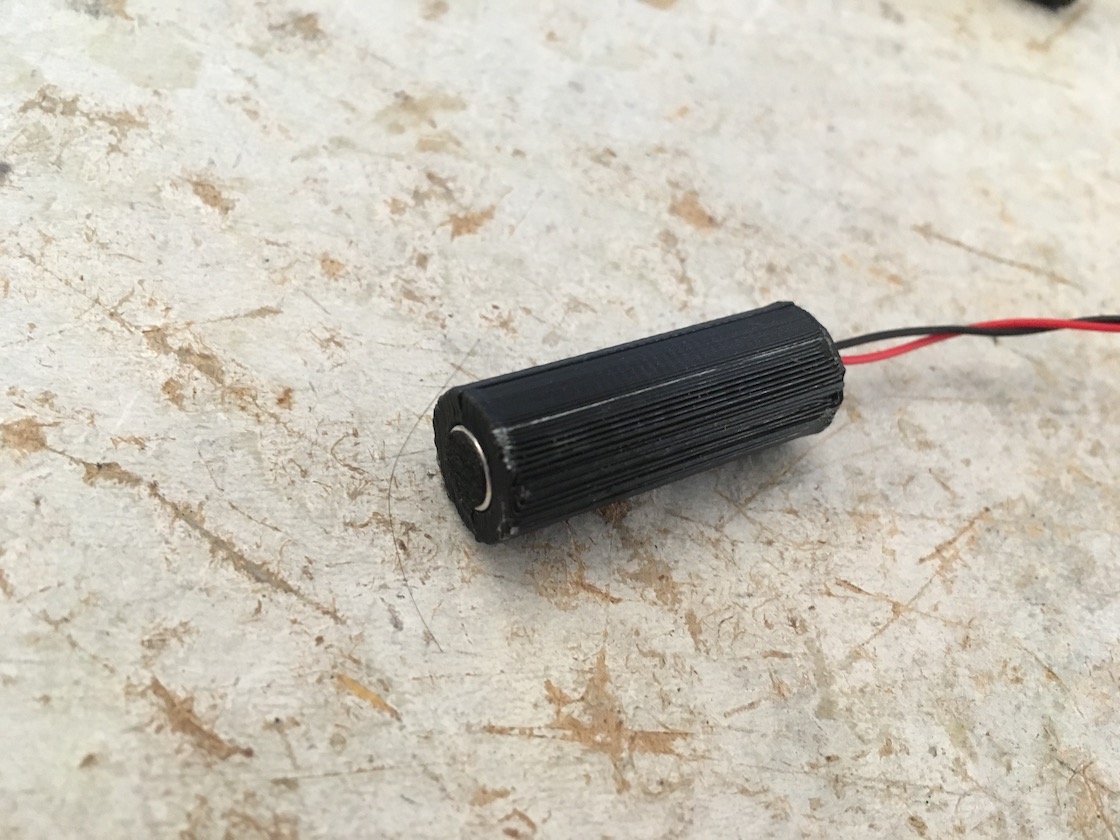 Mic now enclosed by shell.
After putting the mic in the shell, it fits right into the 10mm ID tubing.
 The mic fits in the tube.
Now the stethoscope head can fit right in as well.
 Mic with stethoscope head.
And there it is! A digital, 3D-printed stethoscope. You just plug it into a computer via USB, put the bell to someone’s chest, and record their heartbeat. The good thing about this is that a doctor can plug in their own audio output device (such as headphones to the 3.5mm jack on their computer, if they have one) and listen to it in real time in whatever recording software they are using. Unfortunately this mic does not use a 3.5mm jack, like I originally planned, so it can’t really be used on phones.
 Entire digital stethoscope.
I recorded someone’s heartbeat with my stethoscope. You can still hear it, but again, due to the unshielded wires, there’s some interference and a lot of gain. Take a listen.
Raw, unedited audio.This can be somewhat remedied by passing it through a low pass filter (such as one on a digital audio workstation). I imported the audio into Final Cut Pro and messed around with the EQ. This was the best I could get out of it.
Audio after passing through filters.What's next?
So that’s what I’ve got for my stethoscope at the moment. Very promising. I think what I’ll do next is shield the wires. I’m also gonna redo the diaphragm and make it a bit more flat. I think I’ll also anneal the 3D printed parts using boiling water. In theory, this should melt the layers of the print closer together so that the sound quality may be better (hence the reason the team over at Glia emphasized the 100% infill part).
Thanks for reading!