In June, I had the pleasure of creating a 3D printed LED headlight mount for Dr. Raymond Stein, a famous eye surgeon at the Bochner Eye Institute.
 The headlight and glasses.
The device is essentially a hands-free red LED light to fit on Dr. Stein’s glasses; his patients are supposed to keep their eye on the red light so that the pupil remains centered as he marks their sclera to prepare for an intraocular lens implant. Basically, it enables more accuracy during sugery.
Here’s what Dr. Stein had to say about my device. I am quite honoured.
“Andrew is to be congratulated for designing a fabulous device for eye surgery that helps define the visual axis in the pupil to enable proper centration and orientation of an intraocular lens implant.” — Raymond Stein, MD, FRCSC
Here’s a picture of Dr. Stein using my device to prepare a patient's eye for a surgery.
 Dr. Stein using my device.
Additionally, here’s my red LED mount on my dad.
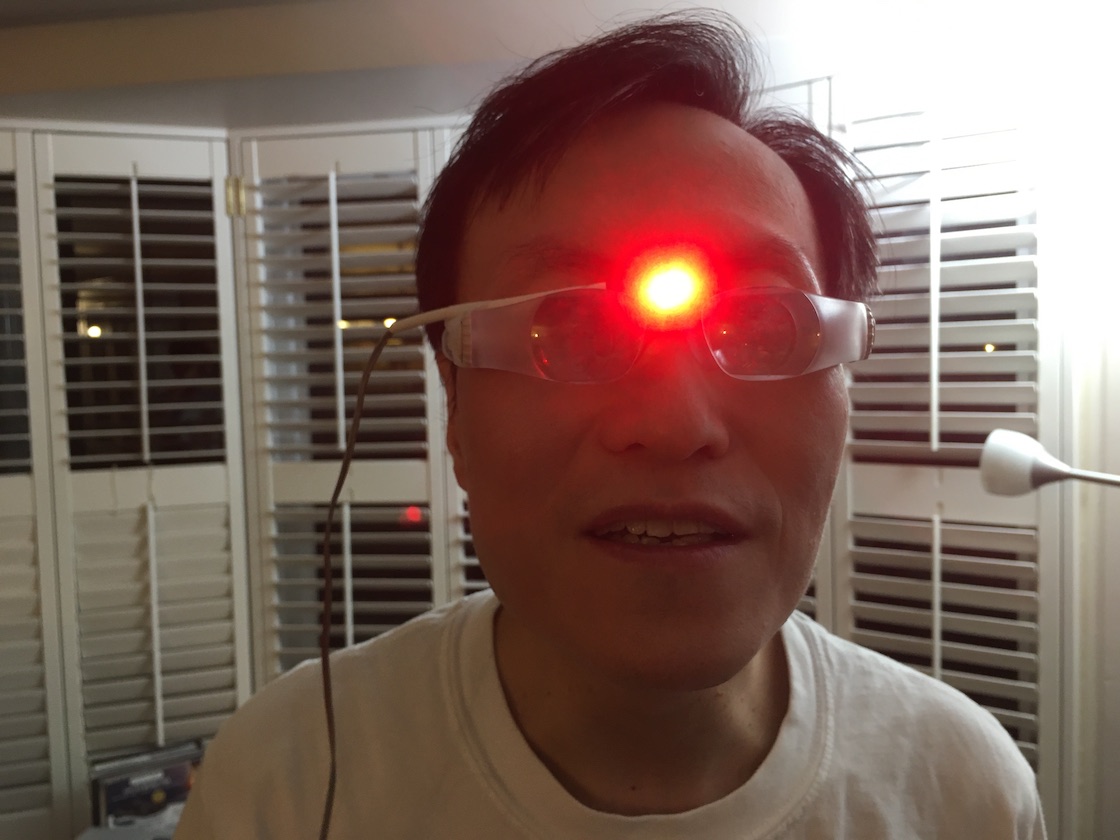 This is kind of what the patient sees.
First I designed the mount in TinkerCAD. I had to measure the dimensions of the original headlight mount using a calliper. I then approximated its shape using basic shapes such as rectangles and triangles.
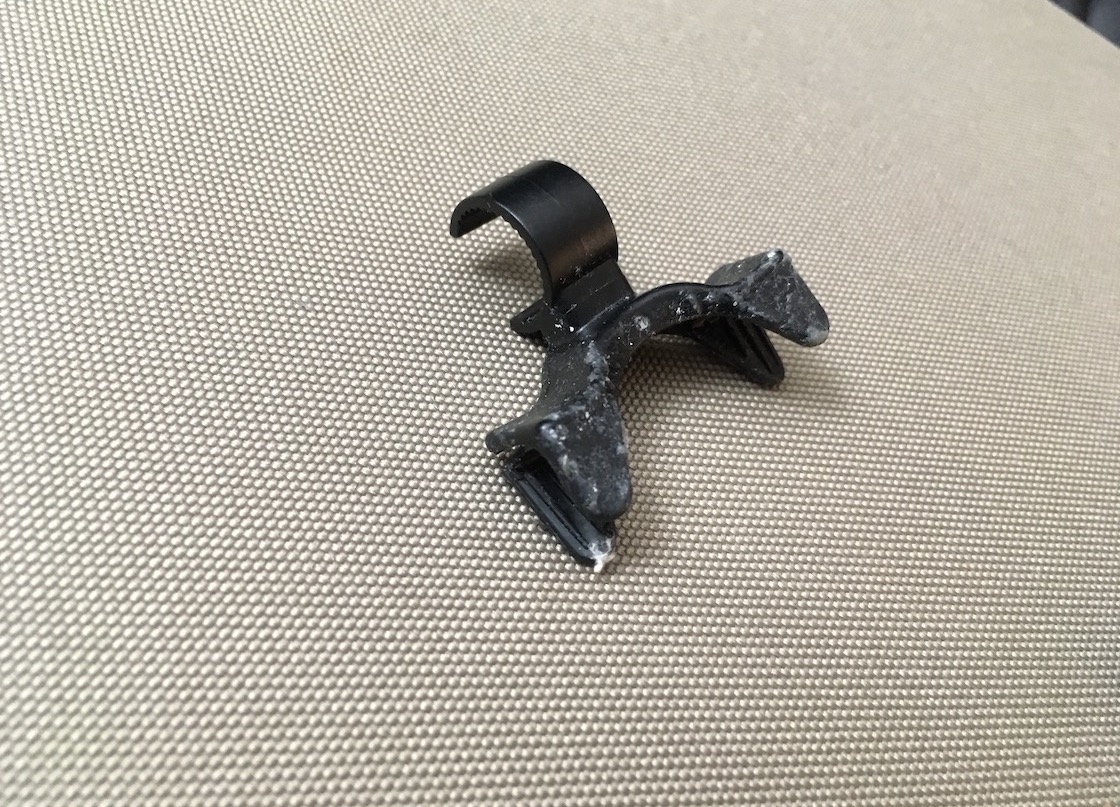 This is the old headlight mount from the Eschenbach light, which I modelled the new one after.
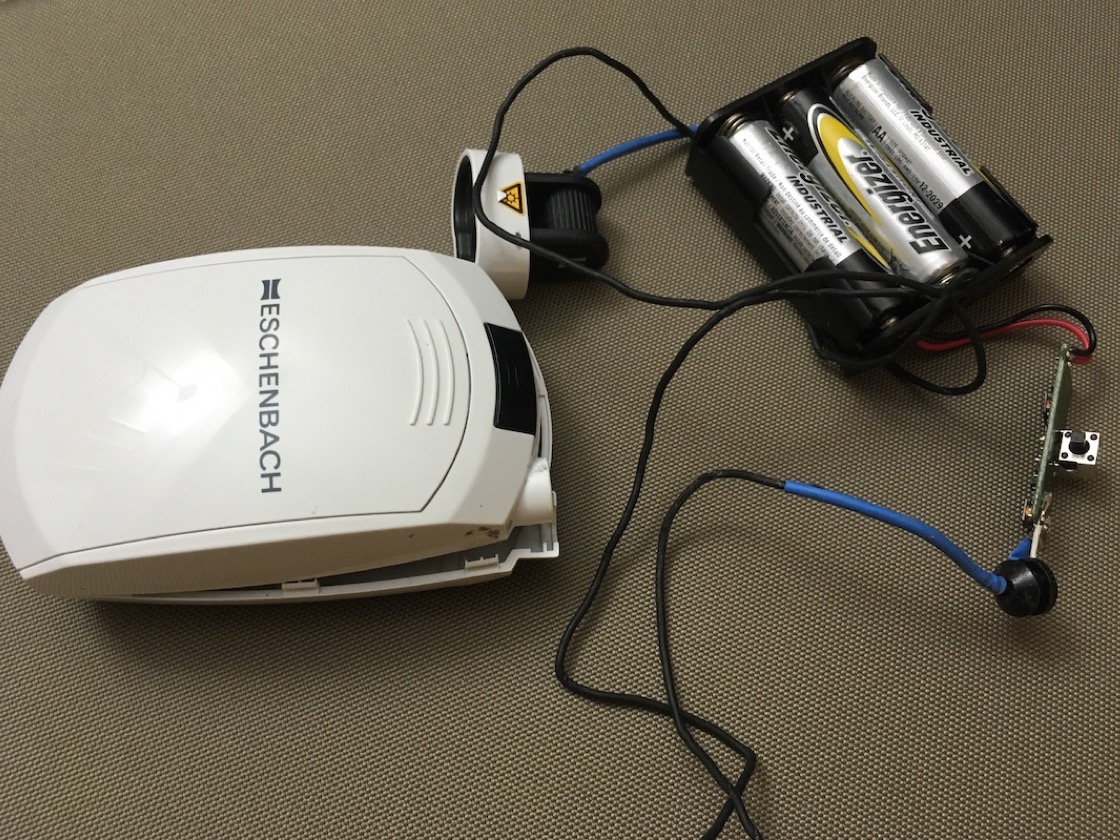 Original Eschenbach headlight.
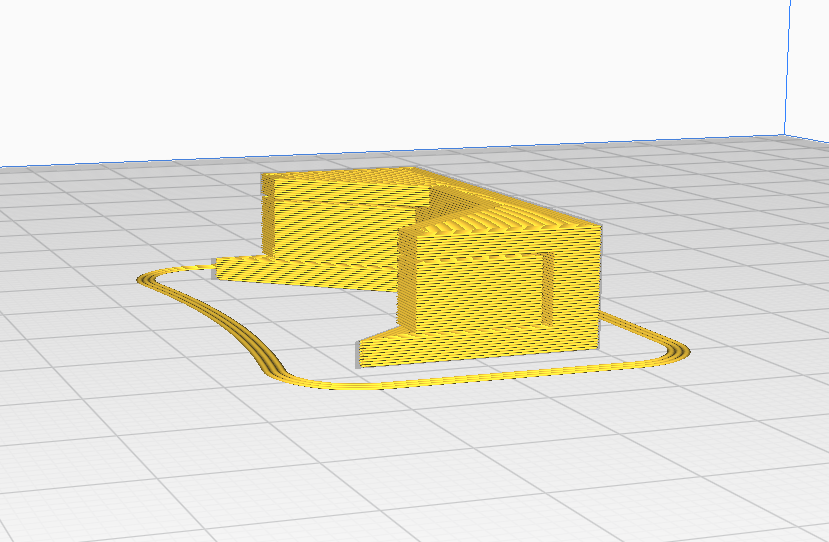 The mount in TinkerCAD.
I printed it out using PLA, and as always I had to remove the supports in between. I wouldn’t have needed to do this if I had printed it vertically instead, which I could have. I’m not sure why I didn’t. If I print it again I will print it upright.
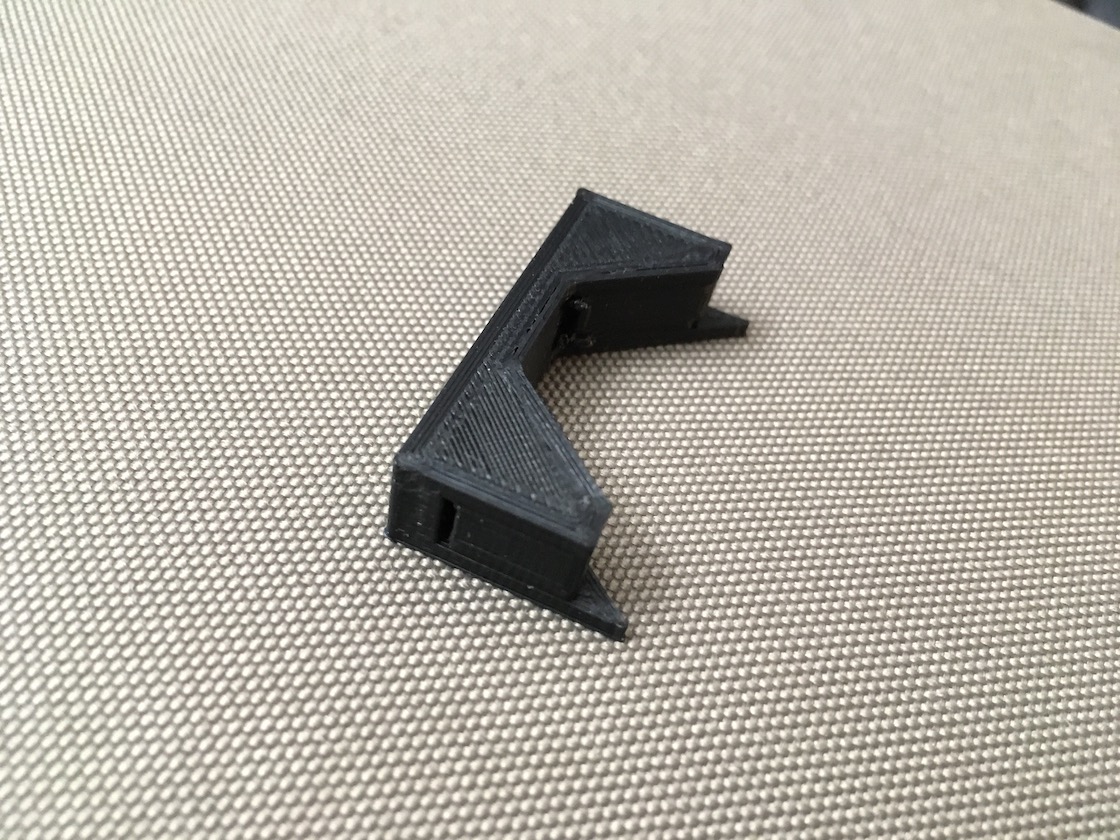 The mount after being printed with supports still intact.
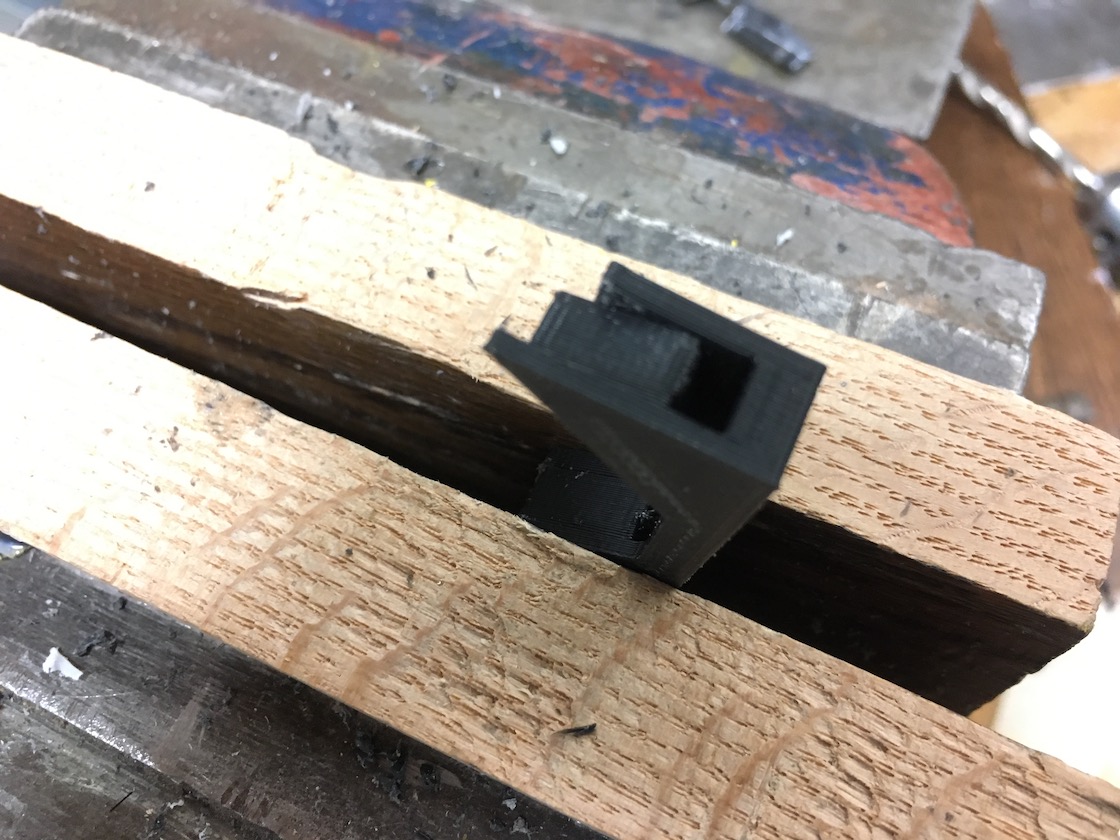
I first put the mount in a vice and basically used a blade as a saw to cut off the sides.
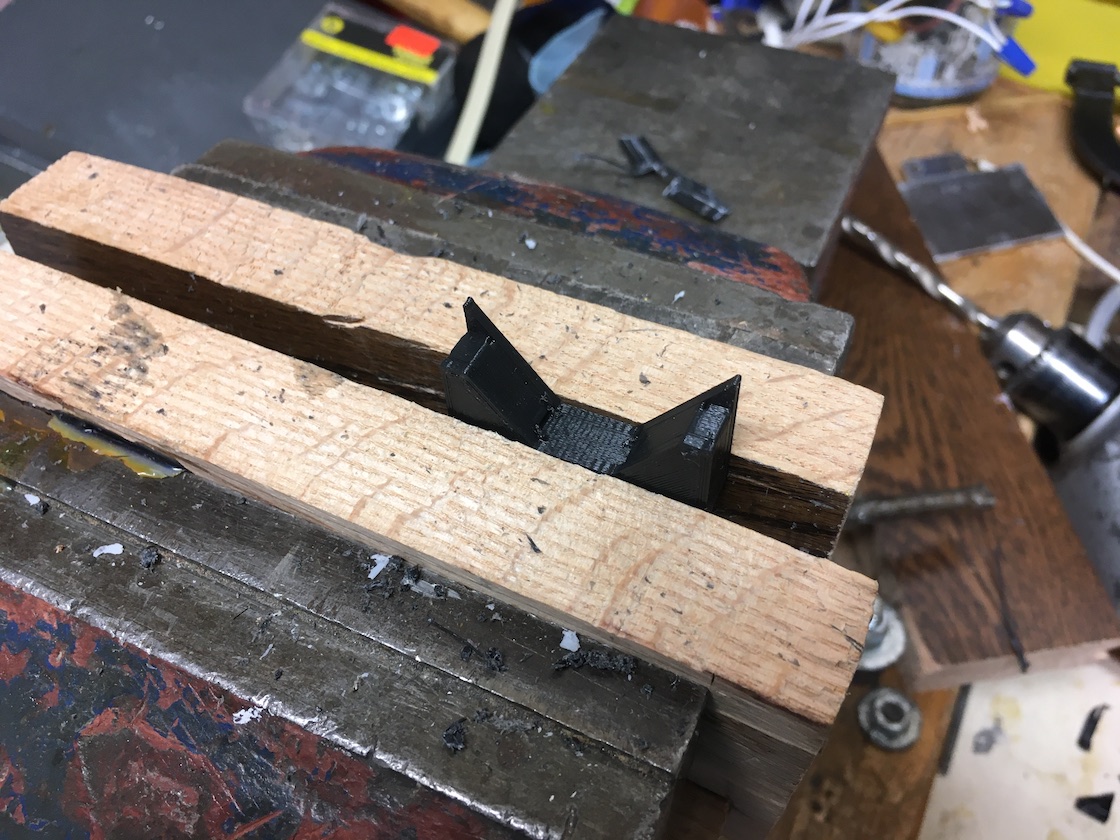 The mount in a vice.
 Cutting out the supports.
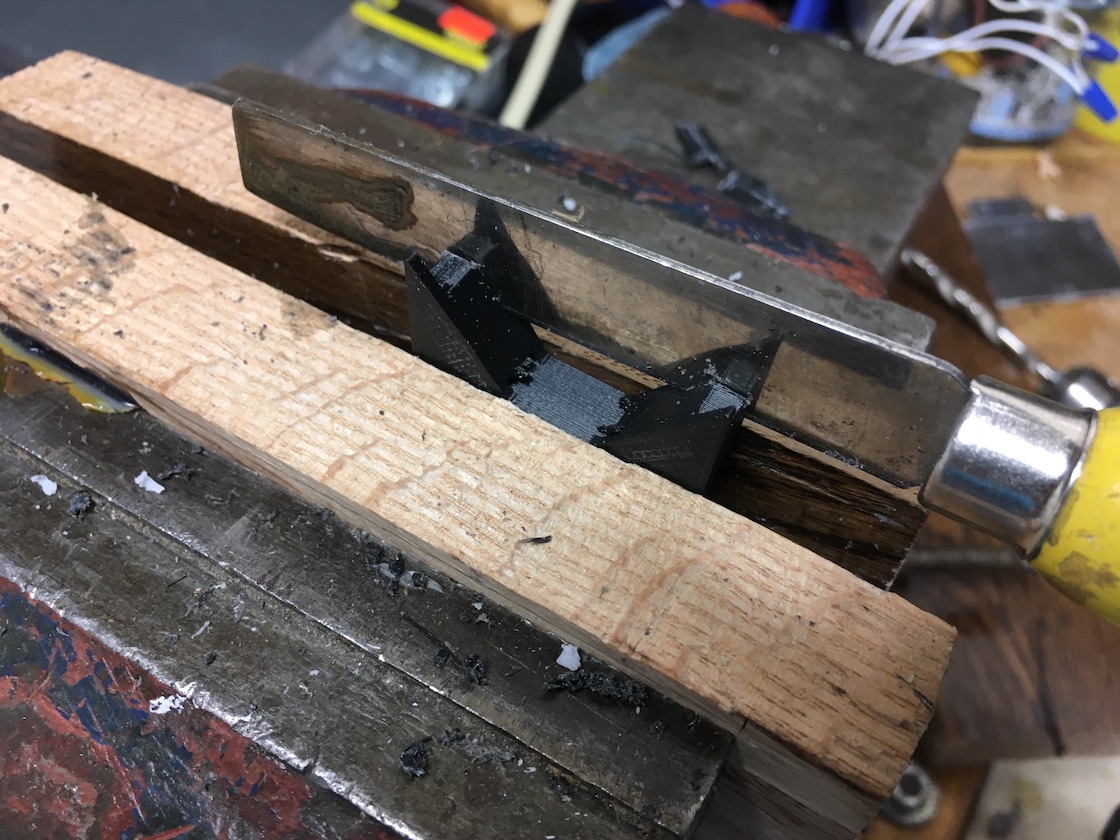
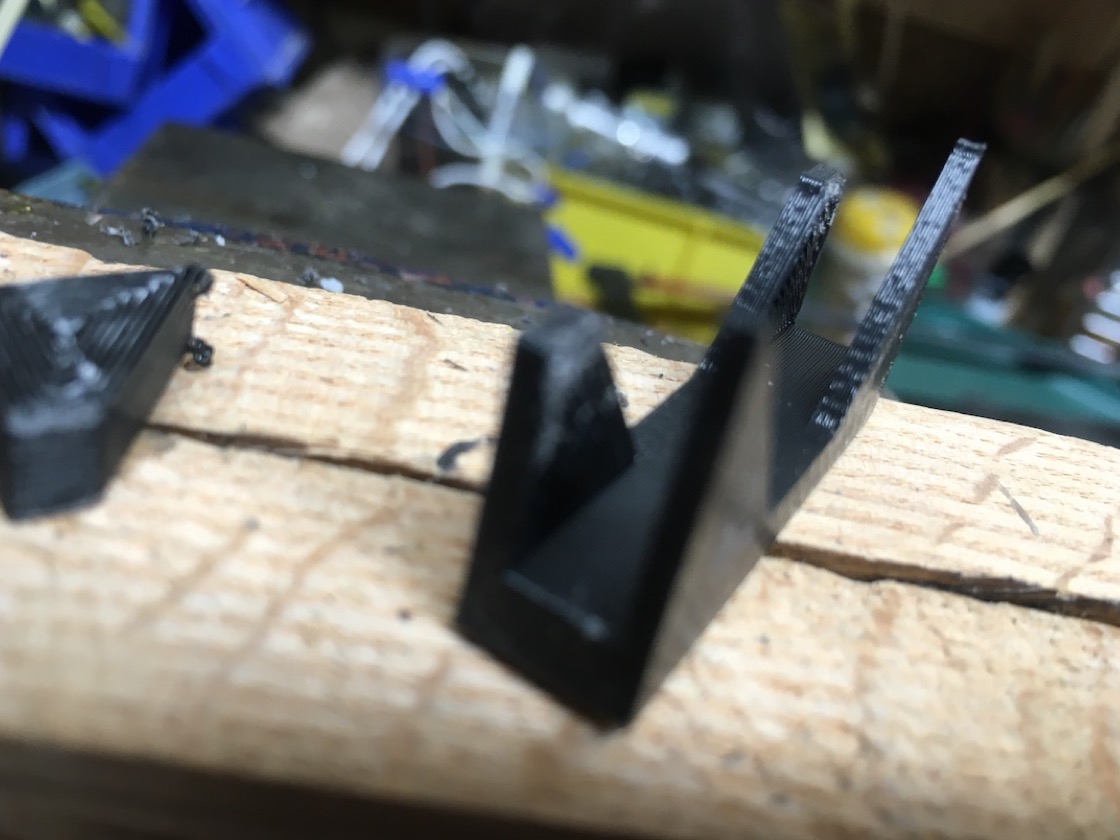
Then I clamped the mount vertically in the vice, and used a blade to pry the supports off like a lever.
 The mount vertically in the vice.
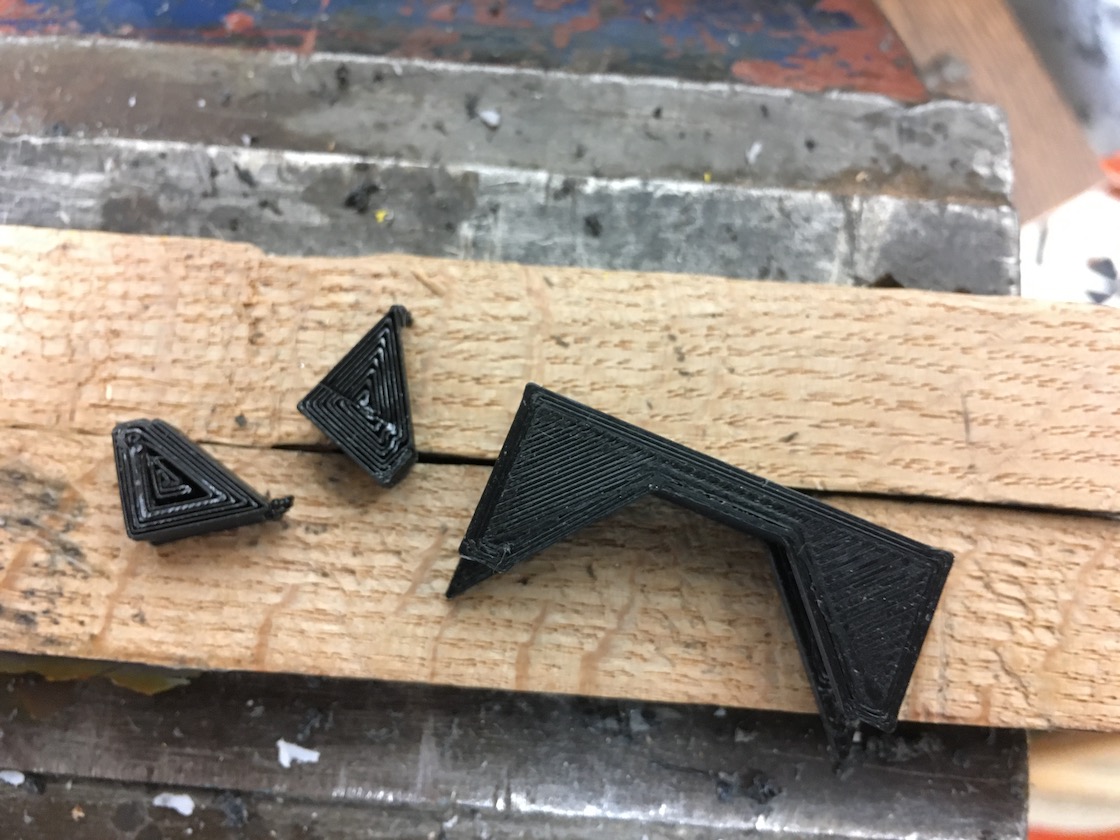 Supports removed.
 Closeup of the mount.
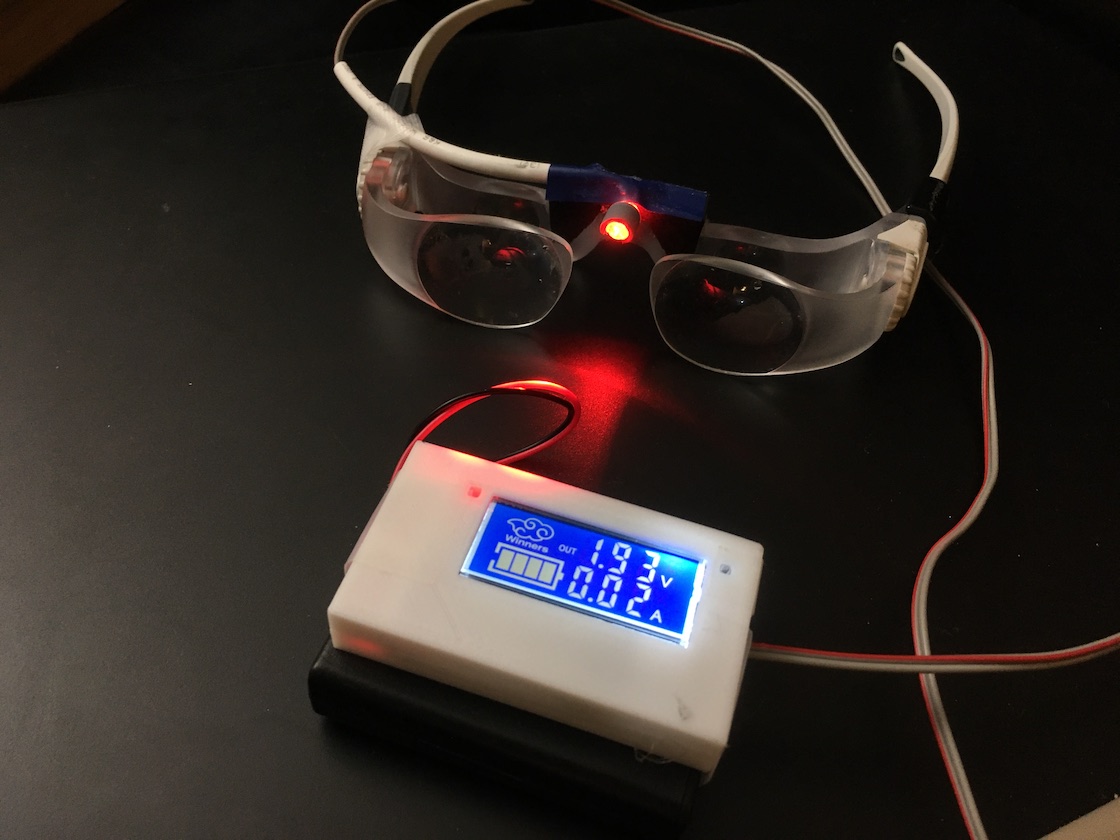
I then fixed a red LED to the mount using electrical tape, and wired it to a voltage regulator and battery pack. The mount also features the same LCD DC-DC Voltage Regulator that was featured on my polarizer device in my most recent science fair project. You may also notice that I reused my 3D-printed housing for the regulator as well, just to protect it.
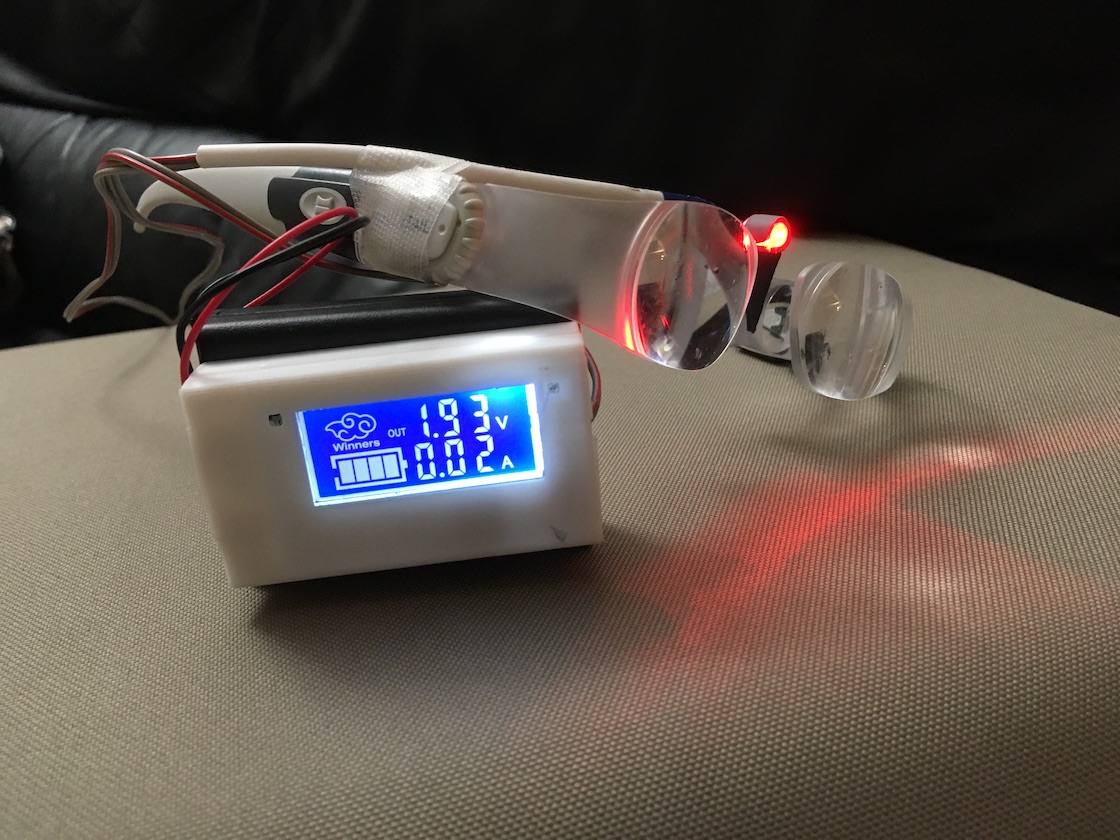 The mount and goggles. Note the reused DC-DC voltage regulator. This is just a reprint with a spare regulator; my other device is still intact.
The end result looks pretty good and the LED works. Just like the original light’s battery case, the voltage regulator and batteries can fit in a pocket so that the wires are out of the way.
Thank you for reading.